There’s something uniquely satisfying about the tactile click and whir of an Old Fashioned Can Opener. In a world brimming with automated gadgets, this humble kitchen workhorse stands as a testament to simple, effective design. It’s more than just a tool; it’s a connection to culinary history, a reliable companion that asks for nothing but a steady hand and a little elbow grease. For many of us, the sight of a trusty old fashioned can opener instantly conjures memories of grandparents’ kitchens and timeless home cooking. But how did this iconic utensil come to be, and what makes it such an enduring staple in our homes?
A Glimpse into the Past: The Fascinating History of the Can Opener
The story of the can opener is, perhaps surprisingly, much shorter than the story of the can itself. While food preservation using tin cans dates back to the late 18th century, with Peter Durand patenting the tin can in 1810, early cans were incredibly robust. Imagine needing a hammer and chisel just to get to your preserved peaches! The sheer effort required to open these early vessels highlights the dire need for a dedicated tool.
From Hammer and Chisel to Ingenious Gadgets
The mid-19th century finally brought forth the first specific tools designed to tackle these metal containers. In 1855, Robert Yeates, a British cutler, patented a lever-type can opener, essentially a claw-ended knife that had to be “haggled” around the can. Just a few years later, in 1858, American Ezra Warner patented a sickle-shaped opener, which proved effective but, with its unprotected blade, was quite dangerous for everyday domestic use, though it saw action with the U.S. military during the Civil War.
A more aesthetically pleasing, albeit similar, design emerged in 1865: the “Bull’s Head” can opener. Made of cast iron, it featured an artistic bovine head and a handle formed by its tail, offering a slight improvement in design and safety compared to its predecessors. This charming piece of kitchen history continued production well into the 1930s. Around the same time, in 1866, J. Osterhoudt patented a unique twist-key system, where a small key was soldered directly onto the can, typically seen on flat rectangular sardine cans. Users would simply secure the key and twist, unwrapping a thin strip of metal until the lid came free, a clever solution for specific products.
However, the real breakthrough for a more universally practical old fashioned can opener came in 1870 when William Lyman of Connecticut patented a circular rotation can opener. This design featured a cutting wheel that rolled around the can’s rim. While innovative, Lyman’s original model was still a bit cumbersome, requiring users to pierce the can’s center and adjust the blade with a butterfly screw. It wasn’t until 1925 that a pivotal improvement was made by the Star Can Company of San Francisco, adding a second, serrated wheel to grip the can’s rim. This modification transformed the rotary can opener into the user-friendly, familiar device we recognize today—a true classic among old fashioned can openers.
During World War II, another iconic manual opener emerged: the P-38 and its slightly larger sibling, the P-51. These compact, folding blade openers were developed by the American Army for military rations, showcasing ingenuity in portability and function.
Unpacking the Classics: Common Types of Old Fashioned Can Openers
When we talk about an “old fashioned can opener,” we’re often referring to a few distinct styles that have stood the test of time, each with its unique charm and method of operation.
The Lever-Action (Claw-Style)
These are the earliest forms of dedicated can openers, characterized by a sharp, pointed blade, often with a guard, designed to pierce the can and then saw its way around the rim. Think of the “Bull’s Head” or early military designs. They require a bit more force and leave behind jagged edges, demanding careful handling.
The Twist-Key Opener
A genius solution for certain types of cans, particularly those for tinned fish, the twist-key opener wasn’t a separate tool you bought but rather came attached to the can itself. You’d simply secure the key and twist, unwrapping a thin strip of metal until the lid came free. It was effective but limited to specific can designs.
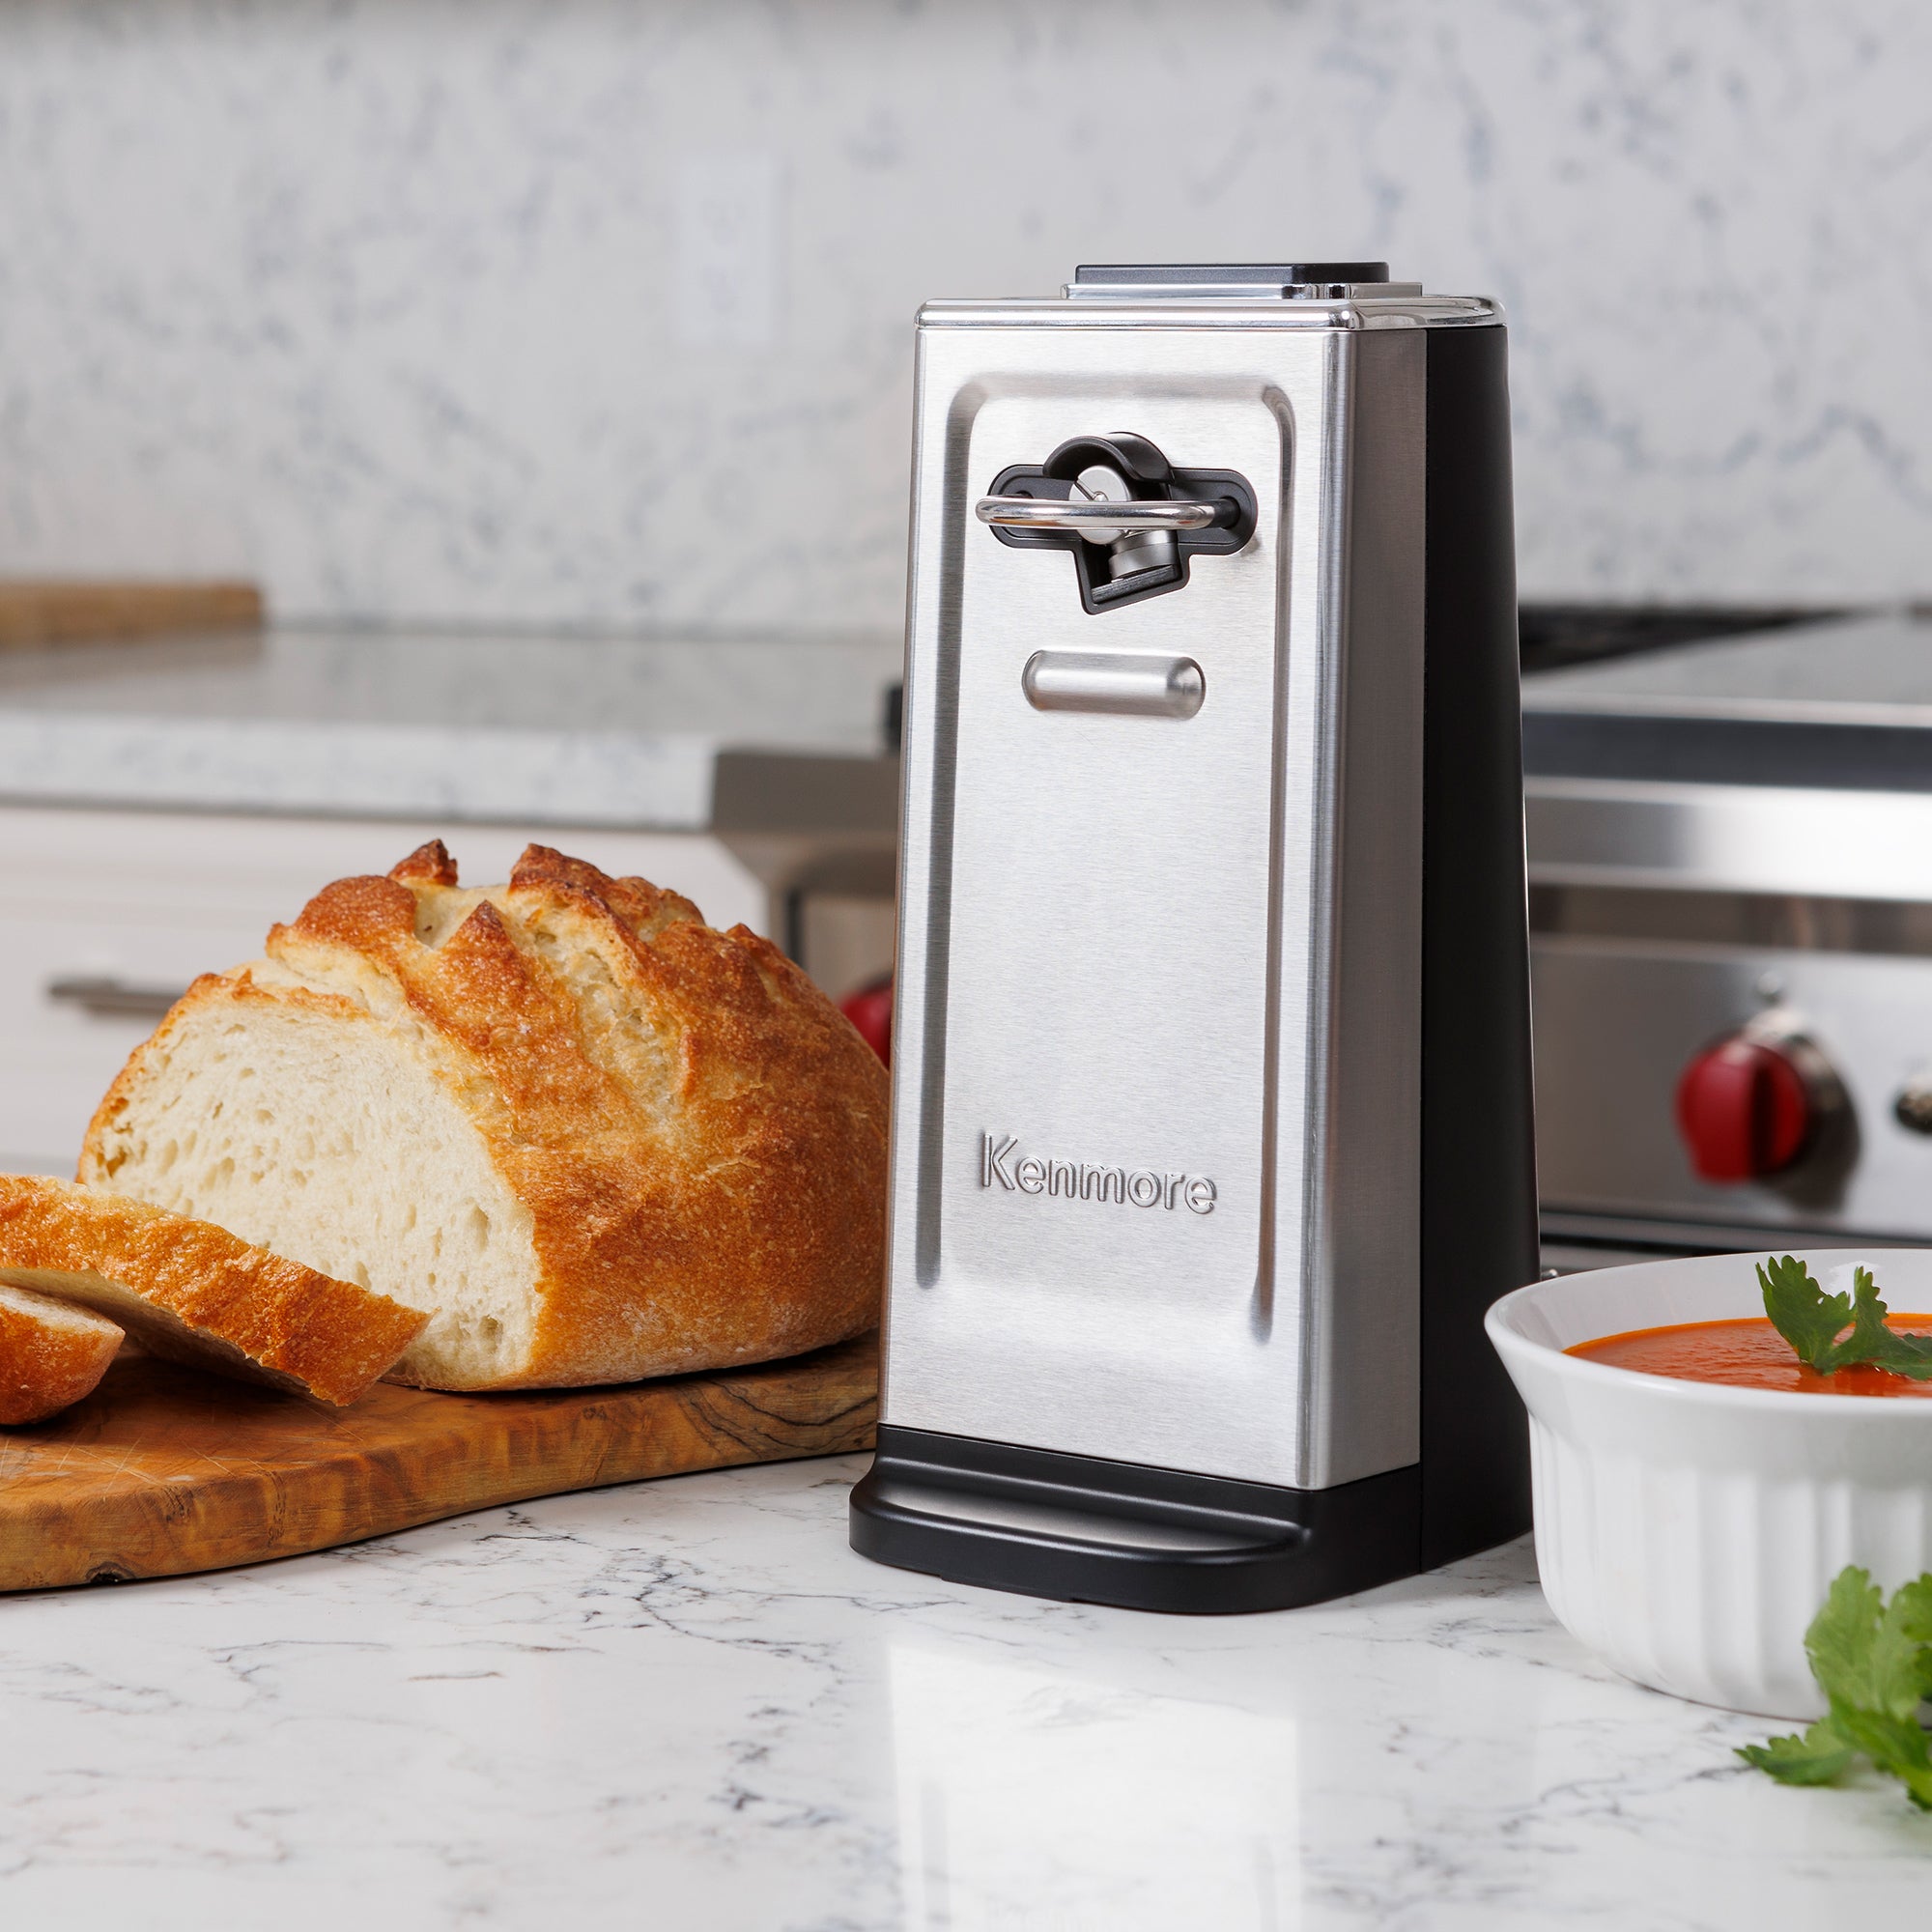
The Iconic Rotary (Manual Crank)
This is likely what most people envision when thinking of an old fashioned can opener. Comprising two handles, a cutting wheel, and a serrated gripping wheel, it clamps onto the can’s rim [cite: 1, 3 (how to use 3)]. With a simple turn of a crank, the wheels work in tandem to neatly slice through the lid. This 1925-improved design balances efficiency with ease of use, making it a household favorite for generations.
The “Church Key” (Bottle/Can Piercer)
While primarily known for opening bottled beverages with crown caps, the “church key” earned its can-opening stripes with the advent of flat-top steel beer cans in 1935. Its pointed end was perfect for piercing two holes in the can top, allowing for a smooth pour [cite: 1 (how to use 1)]. Simple, flat, and remarkably versatile, it remains a common tool in many kitchens and bars.
Mastering the Art: How to Use an Old Fashioned Can Opener Safely
Using an old fashioned can opener, especially the manual rotary type, is straightforward once you get the hang of it. However, the older lever-action models require a bit more finesse and caution.
Using the Classic Rotary Handheld
This is the most common manual can opener today, sometimes still referred to as an old fashioned can opener due to its manual nature.
- Open the Handles: Gently pull apart the two arms of the can opener [cite: 3 (how to use 3)].
- Position the Can: Place the can on a flat, stable surface.
- Align the Wheels: Position the can opener so that the cutting wheel rests on the inside edge of the can’s rim and the serrated gripping wheel is on the outside [cite: 1 (how to use 1)]. The can opener should be perpendicular to the can’s side.
- Clamp Down: Squeeze the handles firmly together until you feel the cutting wheel puncture the lid [cite: 3 (how to use 3), 5 (how to use 5)]. You should feel it “lock” onto the can’s rim.
- Start Turning: Hold the can opener with your dominant hand, keeping the handles squeezed. With your other hand, steady the can. Begin turning the crank knob clockwise [cite: 1 (how to use 1), 3 (how to use 3), 5 (how to use 5)].
- Maintain Pressure: Continue turning the knob, allowing the can opener to travel around the can’s circumference [cite: 3 (how to use 3), 5 (how to use 5)]. If it stops cutting, you might need to re-squeeze the handles slightly to re-engage the cutter [cite: 3 (how to use 3)].
- Remove the Lid: Once you’ve gone all the way around, release the handles. The lid should be mostly detached. Use the can opener’s mechanism or a butter knife to carefully pry off the lid, avoiding direct contact with the sharp edges [cite: 3 (how to use 3), 5 (how to use 5)]. Many modern versions include a small pincer or magnet for safer lid removal [cite: 1 (manual can opener reviews 1)].
Navigating the Lever-Action (Claw) Opener
For the true vintage claw-style old fashioned can opener, the technique is a bit different and requires extra care:
- Position and Puncture: Hold the can opener by its handle, with the pointed blade facing down. Place the curved point near the rim of the can. Carefully but forcefully puncture the lid with the blade [cite: 1 (how to use 1), 4 (how to use 4)]. Ensure your other hand is well out of the way [cite: 1 (how to use 1)].
- Saw and Pry: With the blade firmly inserted, use an upward “sawing” or levering motion to cut a section of the lid [cite: 1 (how to use 1), 5].
- Work Around the Can: Repeat this puncture-and-saw motion around the entire perimeter of the can until the lid is mostly detached [cite: 1 (how to use 1)].
- Careful Removal: The edges will be very sharp [cite: 1 (how to use 1), 5 (how to use 5)]. Use extreme caution when removing the lid.
Tips for a Smooth Operation
- Cleanliness is Key: Always ensure your old fashioned can opener is clean and dry. Food residue can gum up the gears, making it harder to operate.
- Steady Hand: A firm, steady grip on both the can and the opener is crucial to prevent slipping and ensure a clean cut.
- Lubrication (Optional): For very old, stiff rotary can openers, a tiny drop of mineral oil on the moving parts can sometimes improve performance, as observed by experienced users of antique tools [cite: 4 (how to use 4)].
- Know Your Edges: Always assume the edges of a newly opened can or lid are razor-sharp. Dispose of lids safely, perhaps by dropping them back into the empty can before discarding [cite: 5 (how to use 5)].
Keeping Your Classic Going: Maintenance and Care
A well-maintained old fashioned can opener can last a lifetime, often outliving many modern appliances.
- Regular Cleaning: After each use, wash your manual can opener with warm, soapy water. Pay special attention to the cutting wheel and gripping mechanism, where food particles can easily accumulate.
- Thorough Drying: This is critical! Metal can openers are prone to rust. After washing, dry it immediately and completely with a towel. For hard-to-reach spots, a quick air-dry on a dish rack followed by a final wipe can help.
- Proper Storage: Store your can opener in a dry place, away from excessive moisture. Hanging it on a hook or placing it in a utensil drawer are good options.
- Sharpening (for some models): While most rotary can openers’ cutting wheels are self-sharpening to a degree, some very old models or lever-action blades might benefit from occasional sharpening by a professional if they become too dull.
Troubleshooting Common “Old Fashioned” Can Opener Hiccups
Even the most dependable old fashioned can opener can sometimes present a challenge. Here are a few common issues and how to tackle them:
- Slipping and Not Cutting: This is often due to misalignment or insufficient pressure [cite: 3 (how to use 3)]. Re-position the can opener, ensuring both wheels are firmly gripping the rim, and apply more consistent pressure as you turn the knob [cite: 3 (how to use 3)]. Sometimes, a build-up of gunk on the gripping wheel can also cause slipping; a good clean usually fixes this.
- Uneven Cuts or Lid Falling In: If the cut is jagged or the lid drops into the can, it usually means you haven’t maintained even pressure or the cutting wheel isn’t fully engaged [cite: 3 (how to use 3)]. Go back to the incomplete section, re-clamp, and finish the cut.
- Stiff Turning: Rust or dried food residue is the usual culprit. A thorough cleaning and drying, possibly with a small amount of food-grade lubricant for very old mechanisms, can restore smooth operation.
Beyond Nostalgia: Why We Still Love Old Fashioned Can Openers
In an age of smart kitchens and electric appliances, why do old fashioned can openers continue to hold their ground? It boils down to a few compelling reasons:
- Reliability: They don’t need batteries or electricity, making them indispensable during power outages or camping trips. They simply work, every time.
- Durability: Many vintage models are still fully functional decades later, a testament to their robust construction. Modern manual can openers often emulate this build quality.
- Simplicity: There are no complex settings or electronic parts to break. Their mechanical design is easy to understand and operate.
- Compactness: Manual openers take up minimal drawer space, a significant advantage in smaller kitchens.
- Cost-Effectiveness: Generally, old fashioned and modern manual can openers are far more affordable than their electric counterparts.
“The beauty of an old fashioned can opener lies in its sheer dependability,” says Clara Jenkins, a renowned Kitchen Historian. “It’s a foundational tool that connects us to generations of home cooks who relied on their own strength and simple mechanics to put food on the table. It’s a quiet hero of the kitchen.”
Frequently Asked Questions About Old Fashioned Can Openers
Q: Are old fashioned can openers safe to use?
A: While early lever-action can openers could leave very sharp, jagged edges, modern manual rotary can openers are designed for much cleaner cuts. However, caution is always advised, as any metal lid can be sharp [cite: 1 (how to use 1), 5 (how to use 5)]. Some contemporary “safety” can openers cut along the side of the can, eliminating sharp lid edges entirely [cite: 1 (manual can opener reviews 1), 3 (manual can opener reviews 3), 4 (manual can opener reviews 4)].
Q: How do I clean my manual can opener?
A: Wash your old fashioned can opener with warm, soapy water immediately after each use. Pay attention to the cutting and gripping wheels to remove any food particles. Rinse thoroughly and, most importantly, dry it completely with a towel to prevent rust.
Q: Can old can openers be sharpened?
A: The cutting wheels of most rotary manual can openers are often designed to be somewhat self-sharpening through use. However, if an old-style lever blade or a rotary wheel becomes truly dull and ineffective, it can theoretically be sharpened by a professional, though for the cost, replacing an inexpensive manual rotary opener might be more practical.
Q: What’s the difference between side-cut and top-cut can openers?
A: A “top-cut” old fashioned can opener (like the classic rotary) cuts down into the lid, creating an opening on the top surface [cite: 4 (manual can opener reviews 4)]. A “side-cut” or “smooth-edge” can opener cuts along the side seam of the can, just below the rim. This method leaves a smooth, safe edge on both the lid and the can, making it a safer option, especially for households with children [cite: 1 (manual can opener reviews 1), 3 (manual can opener reviews 3), 4 (manual can opener reviews 4)].
Q: Why does my old can opener keep slipping?
A: Slipping is usually caused by insufficient pressure on the handles, misalignment of the cutting and gripping wheels, or a build-up of dried food residue or grease on the gripping wheel [cite: 3 (how to use 3)]. Ensure a firm clamp, proper alignment, and a thorough cleaning of the mechanism to resolve this issue.
The Unwavering Charm of the Old Fashioned Can Opener
From its rudimentary beginnings to the sophisticated, yet still manual, rotary designs we cherish today, the old fashioned can opener has carved out an indispensable niche in kitchens around the globe. It’s a tool that embodies reliability, simplicity, and a quiet efficiency. Choosing an old fashioned can opener isn’t just about opening cans; it’s about embracing a piece of history and appreciating the straightforward brilliance of a device that consistently delivers. So next time you reach for that classic crank, take a moment to appreciate the enduring ingenuity behind this essential kitchen companion.